Fresh.Modern.Secure.
State-of-the-Art Assisted Living Facilities.
View PortfolioMorning Star Village
Rockford, Illinois.


Architectural Design

Interior Design

Furniture Procurement

Independent Construction Observation

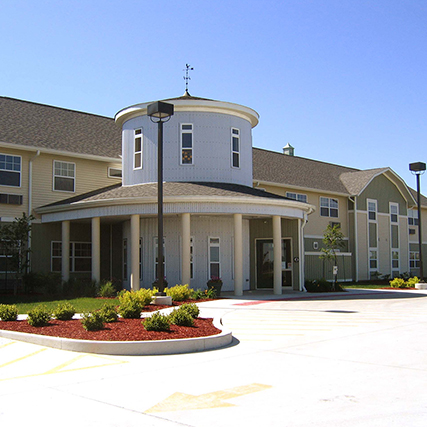
Independent Senior Living
Rolling Meadows is a 23-unit senior living apartment building built in a rural community, and designed to embrace the agricultural area. The main entry replicates a grain silo with dramatic two-story space capturing the sun at different intervals of the day. Read More
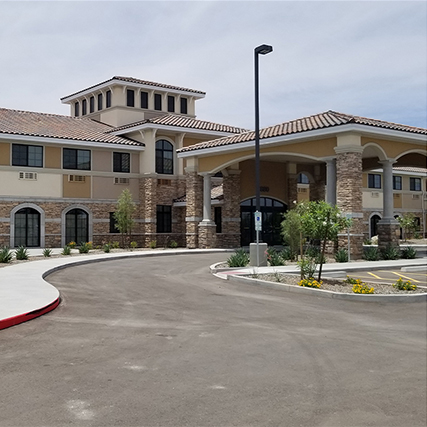
Assisted Living
The Mission at Agua Fria is a state-of-the-art Spanish style assisted living facility, located on a 7-acre campus. The facility consists of 32 assisted living and 58 memory care private residences. This 73,856 square building offers a beautiful and comfortable space for its residents. Read More
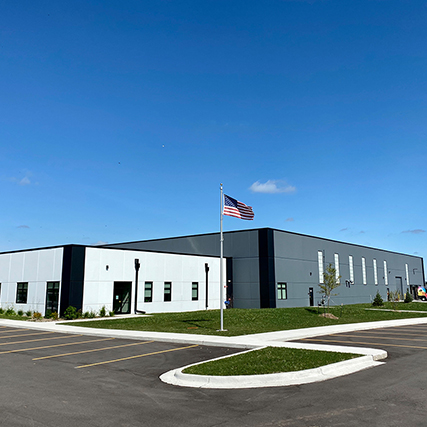
Design Build
Meridian is a 50,000 square foot design build facility located in Loves Park, IL. This project received a 2020 honorable mention from Chief Building Awards in their manufacturing-industrial category. Construction included high exposed ceilings, display area for products, and high-speed overhead doors. Read More
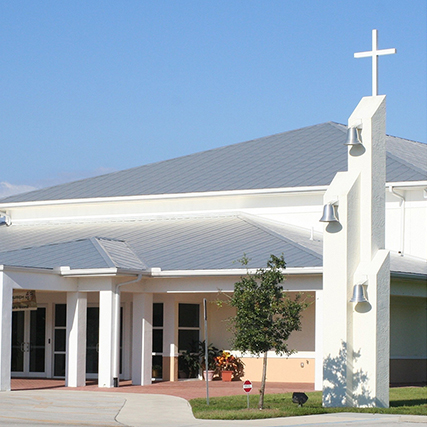
Ecclesiastical
Peace Lutheran Church in Fort Myers, Florida, features a sanctuary/fellowship hall, administrative offices, and childcare/ministries. Utilizing a more traditional Florida appearance, we incorporated standing seam metal roofs and port & cement stucco exterior. Read More

Multi-Family
The 3rd & 11th Townhomes are seven new infill townhomes consisting of four 3-bedroom and three 2-bedroom single family units. The townhomes have an open floor plan, carpeted bedrooms, and wood laminated floors in the main living area. Read More

Not-for-Profit
The Rockford Rescue Mission Pitney Place Addition is a two-story, 25,000 sq. foot expansion that provides 120 additional beds to a long-term life recovery program on the 2nd floor. The ground floor of the Pitney Place also houses a bright, colorful area for children to enjoy during their stay. Read More
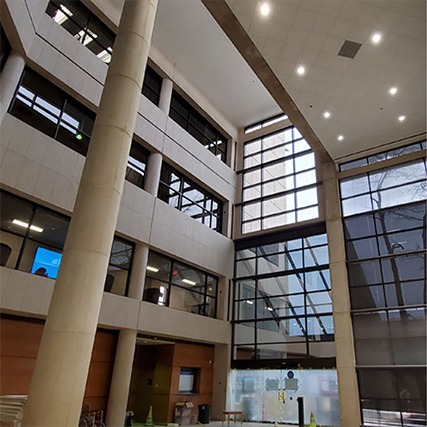
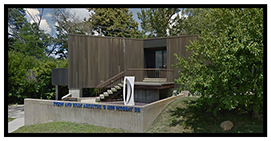
Education
We provided a new design for the clerestory located at the Rockford Public School District Administration Building. We removed the sloped glazing and designed an addition with clerestory lighting. The roofing was replaced with a new single membrane roofing system. Read More
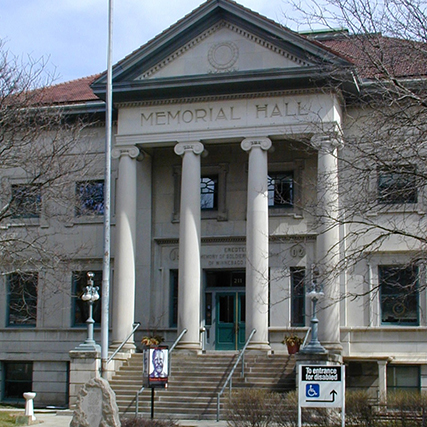
Archives
The firm completed the Veterans Memorial Hall in 1903 in conjunction with the Carnegie Library, both of which share the same classical scale and details. The hall is the first ever Memorial Hall in the nation - built in honor of the veterans of the Civil War and Spanish American War. Read More